

Practical technical design guidance for creating homes that are safer, easier and more intuitive to use.
Accessible design details in a home play an essential role in shaping the daily experience of its users. Common elements like door hardware or lighting controls, greatly impact how a space functions. Thoughtful specification ensures that environments feel effortless and supportive for residents and care networks alike.
In Part 1 of this series, Accessible Design in Architecture: Designing Homes That Work for Everyone, we explored why accessibility should go beyond minimum compliance, introducing the principles of Universal Design and the importance of creating homes that can respond to changing needs.
In Part 2, Accessible Home Layouts: Design Tips and Part M Guidance, we looked at how accessibility is shaped by the floor plan, from entrances and circulation spaces to the relationship between key rooms. We also considered Approved Document M, Volume 1 for dwellings in England as our main regulatory reference.
In this Part 3, we move from planning to technical design, looking at the details, specifications and coordination decisions that help accessible design work in the finished building.
Threshold Design
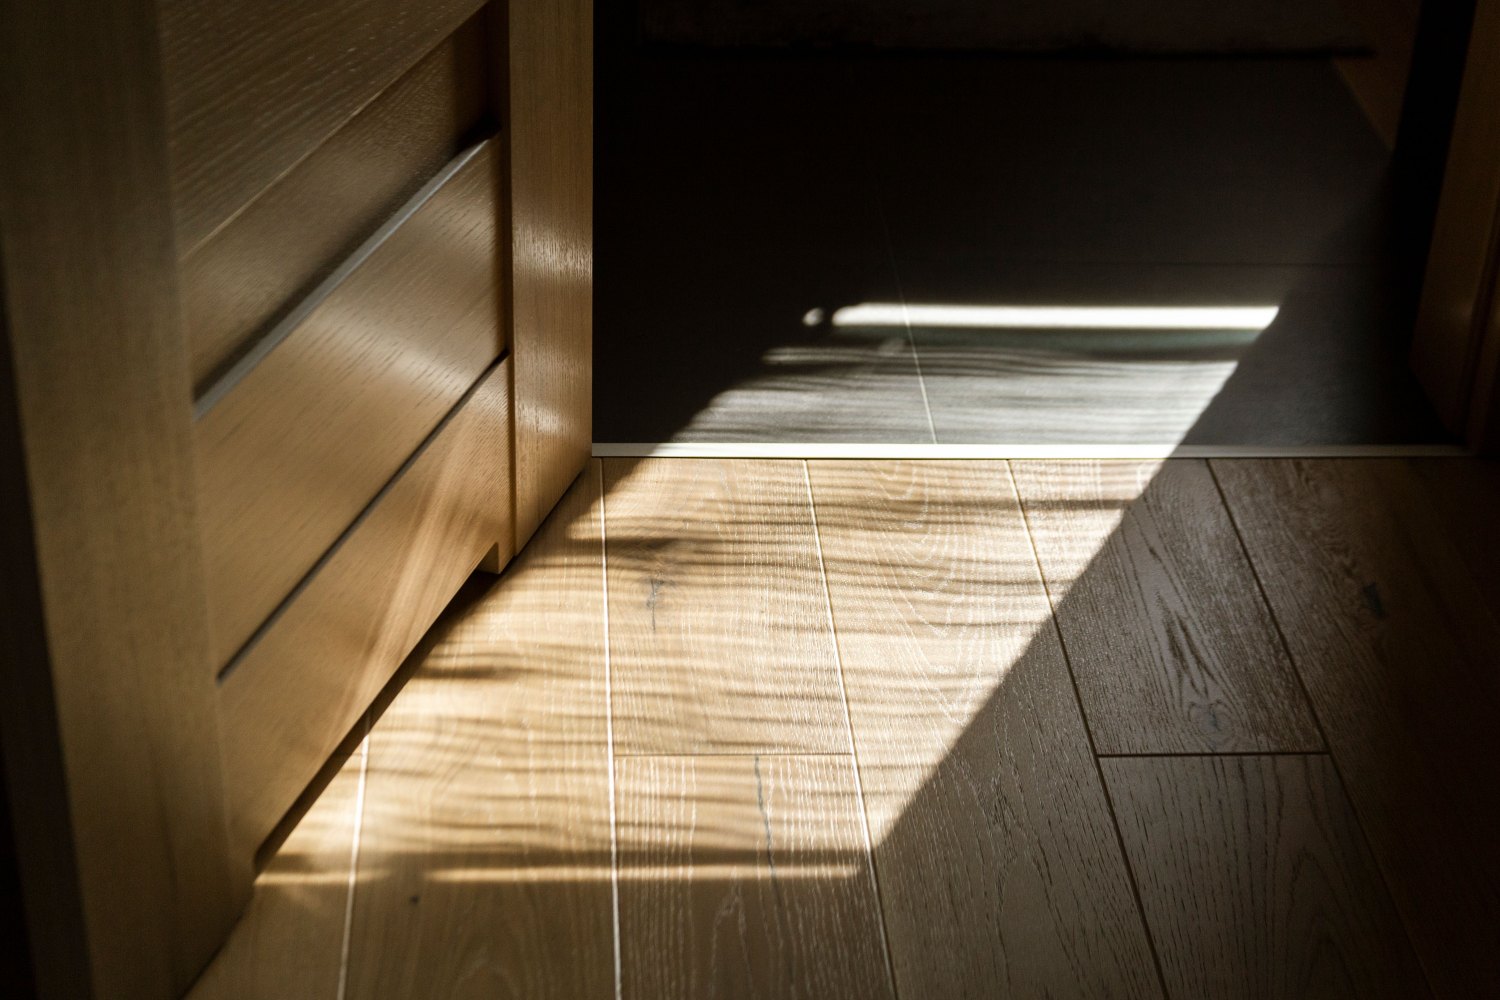
Thresholds mark the transition from one space to another. Although they are relatively small details, their design significantly impacts how easily people move through a home. Even a minor change in level can create a trip hazard, obstruct wheelchair users or make moving furniture difficult.
A well-designed threshold provides a seamless transition between different floor levels or materials while remaining as level as possible. The goal is not to just eliminate steps but to create a natural transition that users can cross effortlessly and without hesitation. This is particularly important at entrances, where the threshold forms the junction between the external environment and the home, but the same principle applies throughout the interior.
Entrance thresholds
A level or near-level entrance threshold can make access easier and reduce the risk of wheelchair casters catching on a raised edge.
As covered in Part 2, Approved Document Part M, Volume 1 sets threshold requirements across all three dwelling categories. M4(1) dwellings require an accessible threshold at the principal entrance. For M4(2) dwellings this is accompanied with paragraph 2.20(h) requiring the principal private entrance or the alternative entrance where step-free access can’t be achieved at the principal entrance, to have an accessible threshold and paragraph 2.21 applying the same provision to other external doors. Then for M4(3) dwellings it provides further requirements for wheelchair-accessible or adaptable homes.
For practical design guidance, Habinteg’s Wheelchair Housing Design Guide provides detailed design information for delivering homes to M4(3), while the Inclusive Housing Design Guide covers both M4(2) and M4(3).
An accessible threshold is defined in Part M as level or, where raised, no more than 15mm in total height, with any upstand over 5mm chamfered.
In general, the threshold detail needs to address:
- finished internal floor level
- external paving level
- door frame and sill
- drainage
- damp-proofing and waterproofing
- insulation
- weather seals
- the door leaf and opening arrangement
The drawing should make the intended finished levels clear and show enough of the surrounding construction to demonstrate how the threshold is expected to work.
If you are new to detailing, we also have an easy-to-follow walkthrough, video you can check out – Level Threshold Detail Explained (Detail Clinic Ep. 07). For more detailed information on level threshold construction, see Technical Study: Level Threshold Detailing. You can also find level threshold details on the Detail Library.
Drainage
A level threshold removes the step at the doorway but also provides less protection against rainwater and surface water entering the home. Drainage should therefore be considered alongside the threshold, external levels, falls and door design from the beginning.
In some situations, a drainage channel may be needed to intercept water before it reaches the door. Its position and detailing are important because a deep channel, raised edge or unsuitable grille can easily become an obstruction.
The drainage detail should also be checked against the actual route of travel to ensure that water is managed effectively without compromising safe access.
Flood risk
Flood risk can complicate entrance thresholds further. Raising the finished floor level may form part of a wider flood-resilience strategy but this can also widen the gap between internal and external levels and make step-free access harder to achieve.
On sites with significant flood risk, establish the required floor level early and test the resulting entrance arrangement before the floor and external works are fixed. You may require specialist flood-risk advice alongside accessibility input on more complex sites.
For further guidance, see BS 85500:2025 – Flood resilient construction, improving the flood performance of buildings and Flood resilient construction of new buildings.
New builds and existing homes
A level threshold is generally easier to achieve in a new home, where you are starting from scratch. Existing buildings on the other hand can be more challenging. This is because older properties may have stepped entrances, deep door sills or significant differences between the internal and external levels. Additionally, restricted space, existing drainage arrangements and the need to retain historic fabric can all place further limits on what can be changed.
You will need to start by establishing what is creating the level difference. It could be the existing floor build-up, an external paving level, a drainage constraint or the construction of the existing door itself. A small change in level may be addressed locally but a larger difference may call for a new access route, ramp, platform lift or alteration to the entrance construction. BS 6440 sets out the relevant code of practice if a platform lift is being considered.
The Kimpton Fitzroy London Hotel in Bloomsbury’s Russell Square is a useful example of where a conventional approach was not suitable. The Grade II* listed building has limited space at its entrance, so a specialist platform lift by Sesame Access Systems was introduced to help provide step-free access preserving its historic street frontage.
The lesson for residential work is not to simply copy the solution but to recognise that accessibility interventions sometimes need to be designed around the constraints of an existing building rather than imposing them on a standard detail. For historic and listed buildings more broadly, Historic England‘s guidance, Easy Access to Historic Buildings, sets out the wider principles for balancing access improvements against heritage constraints.
Internal transitions
Internal thresholds occur wherever floor finishes meet or where there is a change in level. These junctions can create unnecessary lips or raised edges mainly where different materials meet and should be designed to provide a smooth transition between spaces.
Before selecting a threshold strip, you need to check whether the junction can be resolved within the floor build-up itself. Where a transition profile is required, specify the actual product and confirm its finished height.
Floor tolerances should also be considered because a junction that is theoretically flush can still produce a noticeable lip if one finish is installed slightly higher than intended.
Small changes like removing an unnecessary threshold plate or raised beading, can sometimes improve continuity without major structural work.
Doors and Ironmongery

Once the position and required clear opening of a door have been established during the planning stage, technical design needs to resolve how the door will actually work.
The door leaf is only one component of the doorset. The frame, hinges, seals, closer and handle can all affect the final clear opening and the effort required to operate the door.
Clear openings and door schedules
The clear opening should be treated as an installed dimension, not simply a nominal door size. Frame thickness, door stops, seals and the final doorset can all reduce the opening available.
If a certain door and frame combination is needed to achieve the required clear opening, you should clearly mention it in the specification.
A door schedule is a useful place to coordinate this information. As well as the door size and finish, it can record the frame, ironmongery, closer, fire performance and other requirements that affect how the door will perform. What Is a Door Schedule? explains how this coordination works in practice.
Ironmongery and opening force
Door hardware is used every day, so its specification deserves the same attention as the door itself. Lever handles are generally easier to operate than small knobs, since they do not demand the same grip and twisting. They should be positioned where they can be reached without being obstructed by the frame or adjacent wall.
Opening force is influenced by the closer, seals, hinges and door weight. This can be quite noticeable with heavier doors or doors fitted with self-closing devices. Where a closer is required, check the manufacturer’s information for the complete doorset rather than assuming a standard closer will be suitable.
Fire doors may need self-closing devices, which can increase the force needed to open them. Accessibility and fire requirements should therefore be considered together when selecting the door closer. Where hold-open devices are proposed, make sure they allow the door to close when required.
Glazed doors
Glazed doors improve visibility between spaces, but large expanses of glass need to remain visually identifiable. Consider whether the door and its manifestation will read clearly against the background beyond it. This is crucial where a glazed door sits within a larger glazed screen, where the edge of the opening can otherwise be hard to identify.
The position and appearance of manifestation should be coordinated with the architectural elevation. Manifestation also intersects with safety glazing requirements under Approved Document Part K, which should be checked alongside the accessibility.
Sliding doors
Sliding doors can be useful where a conventional door swing would conflict with furniture or circulation space. However, check the force needed to operate the door, the position of the handle and the space required to use it.
Pocket doors also require coordination with the wall construction, mainly where electrical or plumbing services are routed through the same wall.
Automatic and powered doors
Powered doors can be useful where manual operation would otherwise be difficult. Where they are proposed, consider how the door will operate in practice, including the location of controls, activation method, opening speed and the space needed to approach and pass through it.
The need for powered opening should be considered alongside the door’s other requirements and surrounding construction early on.
Controls and Fixtures
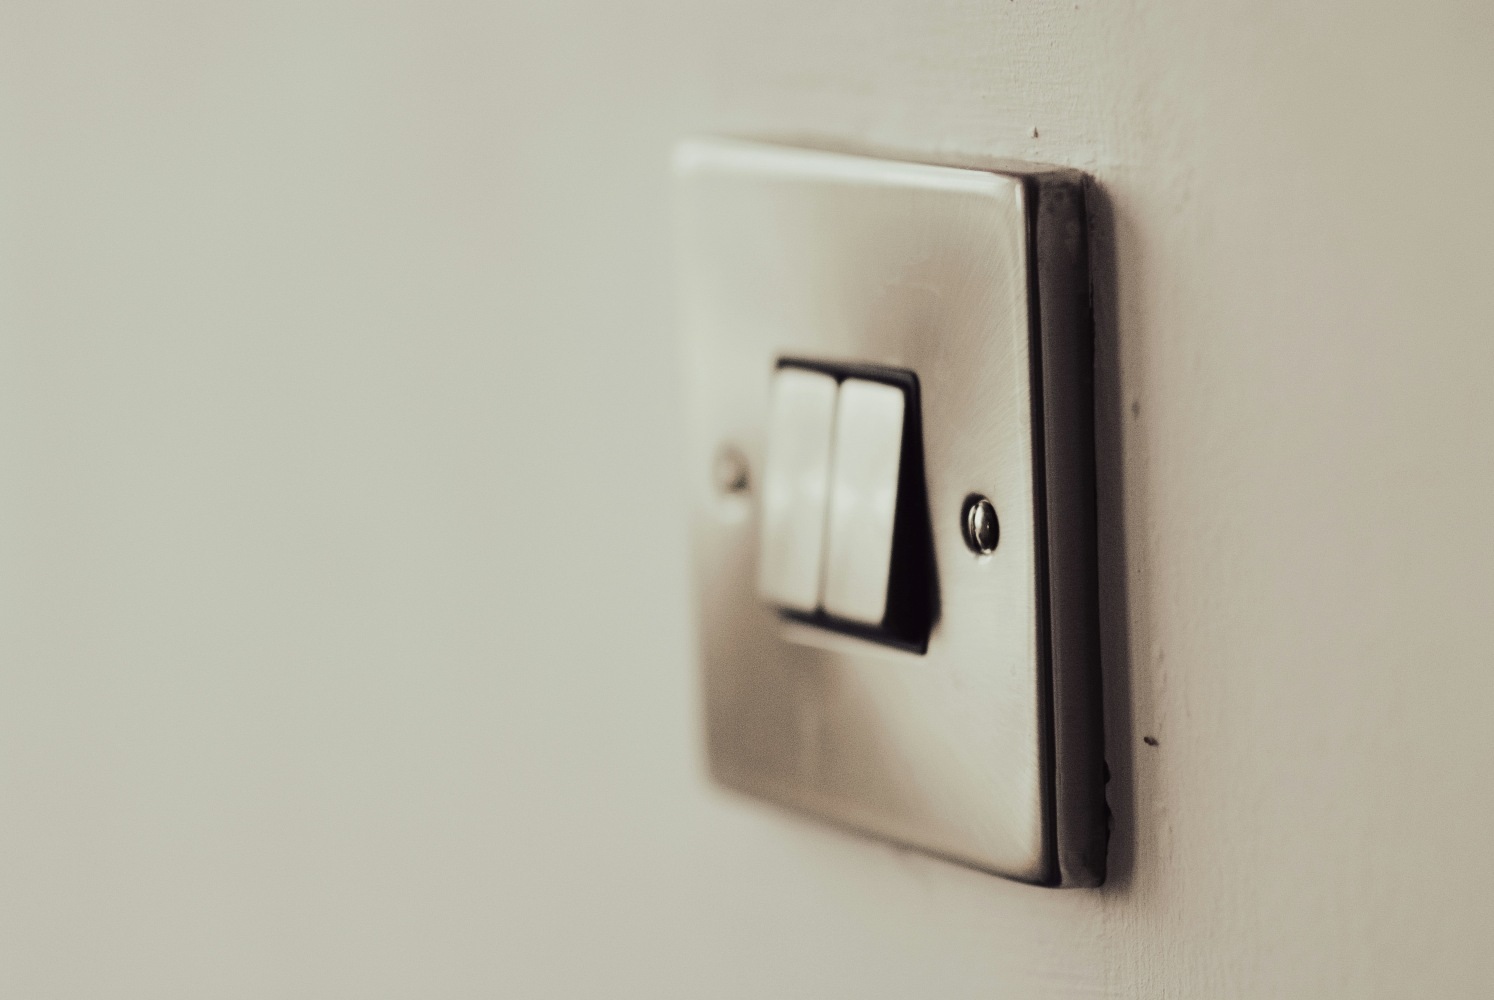
Controls should be considered as part of the architectural design. For M4(2) dwellings, Part M paragraph 2.30 places switches, sockets, stopcocks and controls between 450mm and 1200mm above floor level, with a minimum horizontal separation from internal corners. It also includes requirements for window handles and heating controls.
Their locations must be coordinated with the finished room layout and furniture. Switches should be positioned predictably near door openings, rather than immediately behind the door leaf where the user has to reach around it.
Socket locations should also be checked against the final furniture arrangement to ensure they remain accessible, mainly in kitchens and bedrooms where radiators or fitted furniture may obstruct them. A socket within the correct height range may still be difficult to use if it is hidden behind a radiator or fitted unit.
Thermostats and heating controls should sit where they can be reached without stretching or leaning over furniture. For M4(2), boiler timers and thermostats are generally positioned between 900mm and 1200mm above finished floor level, either on the boiler or through a separate accessible controller.
If smart technology like app-based heating controls, voice control or automated blinds is specified, it should support rather than replace accessible physical design. The underlying arrangement should remain practical without relying on a smartphone, internet connection or charged battery, as not every occupant will have access to or want to use these systems for basic operation. Consider how the system would function if the technology failed. The essential controls and features should remain accessible and usable.
Doorbells and entry systems should be reachable from the approach route, with enough space in front of the door to operate the bell without blocking the accessible route. If the resident is deaf or hard of hearing, visual or vibrating alerts can provide an alternative to an audible signal.
Window handles should remain accessible once furniture is installed. Therefore, check the final position against the window opening itself, not just the wall centreline. For M4(2), Part M gives a 450mm to 1200mm height range for at least one window handle in the principal living area, with provision for remote opening where appropriate. Other window handles have a higher permitted range.
Sanitaryware and Grab Rails
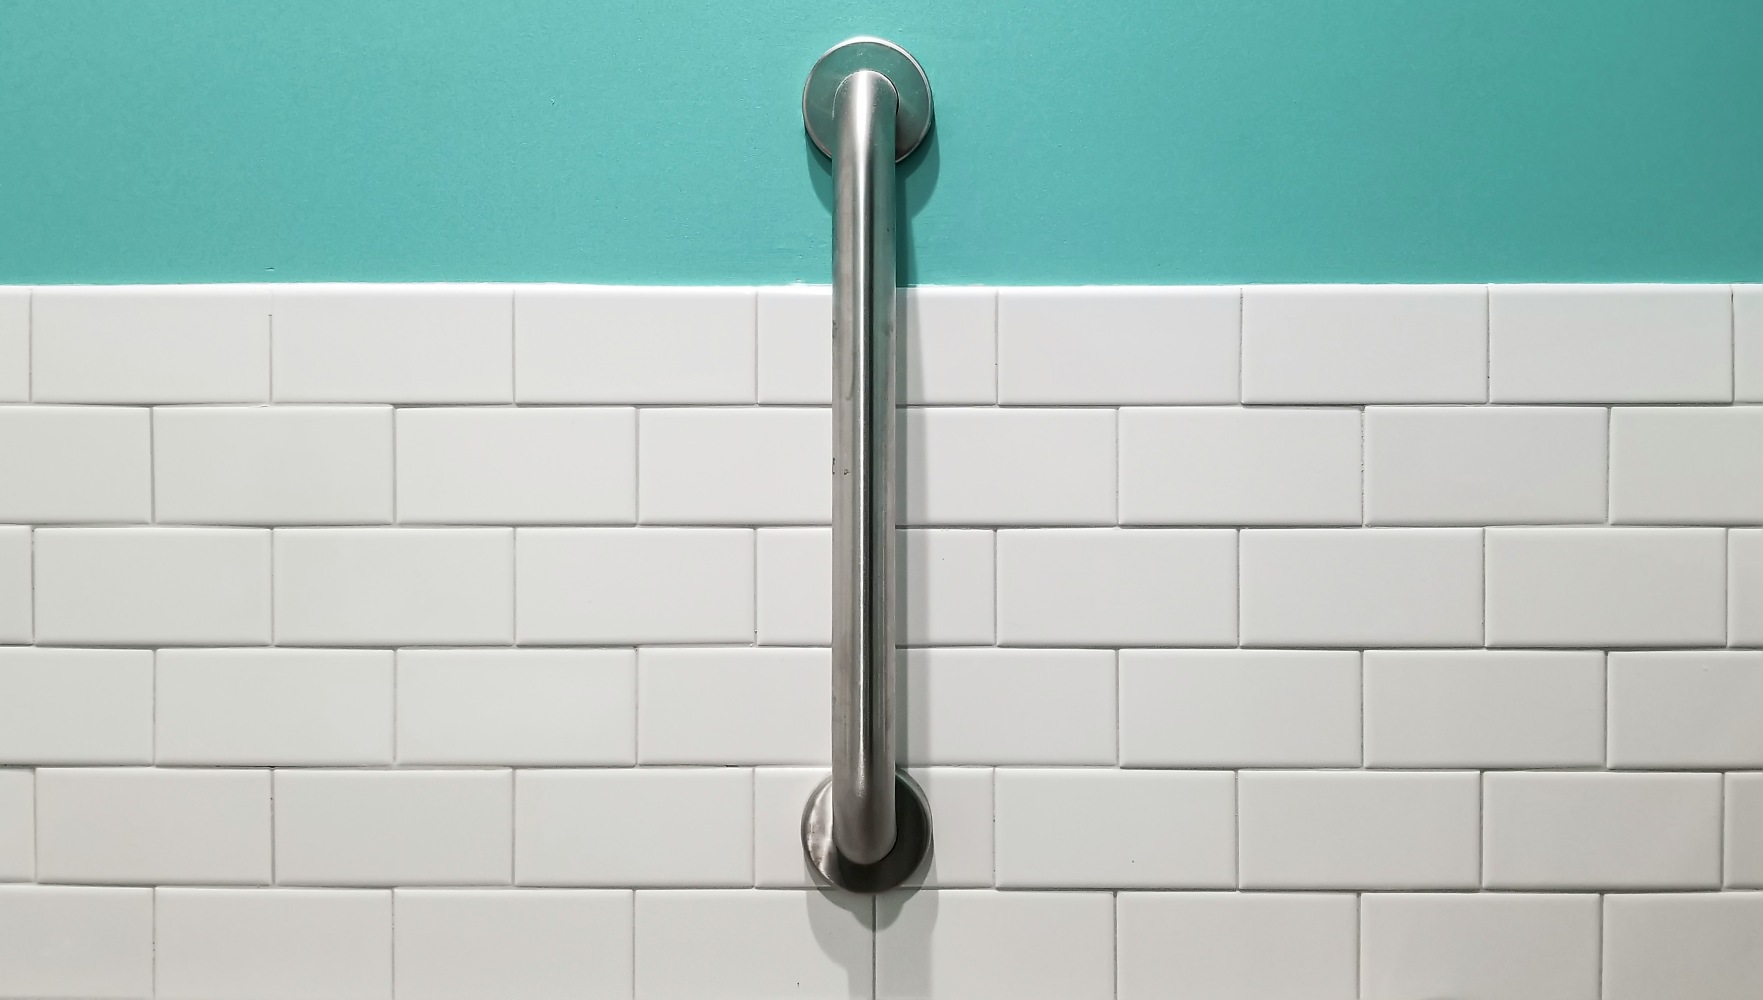
Grab rails should be designed around a specific person’s reach, grip and transfer pattern rather than a single standard height. When a rail is being fitted for an M4(3) dwelling or a specific resident, let their actual movement decide its position. Transferring from a wheelchair to the WC calls for a different angle than standing up from a shower seat.
Where a wall has only been reinforced for future use, as M4(2) requires, record the reinforced zone and load capacity (up to 1.5kN/m²) on the drawings, so a rail can be fixed correctly years later rather than relying on whoever does the work at the time to find a stud by chance.
The same principle that applies to door handles applies to taps. Lever and single-lever mixer taps need less grip and dexterity than crosshead types and should be positioned within reach from the relevant seated or transfer position.
A raised WC pan and easy-operation flush may assist some users and should be considered alongside the position of grab rails and transfer spaces. Wall-hung sanitaryware can simplify cleaning and floor-level access but the structural fixing requirements should be coordinated with any future adaptation strategy.
In cases where, telecare or emergency alarm system is specified, a pull-cord within reach of the floor in the bathroom is a standard provision worth coordinating alongside the grab rails.
Where a wheelchair-accessible layout may be needed later, check that sanitaryware does not conflict with the transfer space required by a wheelchair user.
Refer to Approved Document Part M and Habinteg’s Wheelchair Housing Design Guide for more detail.
Lighting Design

Lighting should make routes, changes in level, controls and objects easy to see while also providing even illumination without glare, harsh shadows or confusing changes in brightness.
When reviewing a lighting plan, trace the route a person will actually take through the room. Pay proper attention to entrances, stairs, work surfaces and other areas where visibility is important. Poorly positioned fittings can create shadows or leave key areas poorly lit.
The furniture layout also affects lighting. A layout that looks evenly spaced on a reflected ceiling plan may provide poor illumination once kitchens, wardrobes or large furniture are installed. This is why a reflected ceiling plan should be coordinated with the floor plan.
How to Draw a Reflected Ceiling Plan covers the relationship between lighting positions, furniture, switches and other ceiling information in more depth.
Entrance lighting
Entrance lighting should make the door, handle and immediate approach visible without creating glare. Position external fittings so the person approaching isn’t looking directly into a bright source.
For M4(2) private entrances, Part M specifically requires fully diffused luminaires activated automatically by a dusk-to-dawn timer or by movement detection.
Stairs
Stairs need particular attention because changes in level must remain visually clear. Avoid lighting arrangements that create strong shadows across the nosings or make individual treads appear significantly different from one another. Aim for an even distribution of light across the flight and landing.
Night lighting can also be useful where a stair is likely to be used after dark, providing a visible route without requiring bright overhead lighting throughout the house.
Switch position
The switch position matters almost as much as the fitting itself. Occupants should not have to enter a dark room and walk across it before reaching the switch. You should consider whether the lights can be controlled from both ends of a circulation route. For bedrooms perhaps if the occupant can control the relevant lighting from the bed.
Smart lighting can add useful flexibility, but the control strategy should stay understandable. Avoid a system where an essential light can only be operated through a phone app.
Residential Lighting Design – An Architect’s Guide provides more background on domestic lighting types, fittings and controls.
External lighting
External lighting should illuminate the user’s route and not just the facade. Make sure you pay close attention to steps, gates, changes in paving and the location of door controls. Additionally, avoid placing bright fittings directly in the sightline of someone approaching.
Colour and Visual Contrast

Visual contrast can help people identify important elements and distinguish them from their surroundings. The aim is not to make every component a different colour but to use contrast where it helps a user identify something or understand how a space works.
The elements include:
- a door leaf against the surrounding wall
- a door handle against the door
- a light switch against the wall
- a handrail against its background
- a stair nosing against the tread
- sanitary fittings against the wall or floor
Think about the contrast between adjacent surfaces rather than choosing colours in isolation. A dark door against a dark wall, for example, may be difficult to distinguish.
Strong patterns can also make surfaces and changes in level harder to read, while highly reflective or glossy finishes can create glare and reflections that affect how a space appears. When selecting finishes, consider how they will look under the actual lighting conditions rather than relying on small material samples alone.
Light Reflectance Values (LRVs) can be used to assess the difference in lightness between adjacent surfaces. A minimum LRV difference of around 30 points between adjacent surfaces is a widely used benchmark for ensuring contrast is detectable by most people with a visual impairment. BS 9266:2013 provides non-statutory recommendations for accessible and adaptable general-needs housing, including guidance on visual contrast. BS 8300-2:2018 covers similar contrast principles for non-domestic buildings and although it does not apply to individual dwellings it is the relevant reference if you are also detailing communal areas in a block of flats.
RNIB guidance also provides practical advice on using contrast within the home, including doors, handles, switches, stairs and sanitary fittings.
Stairs
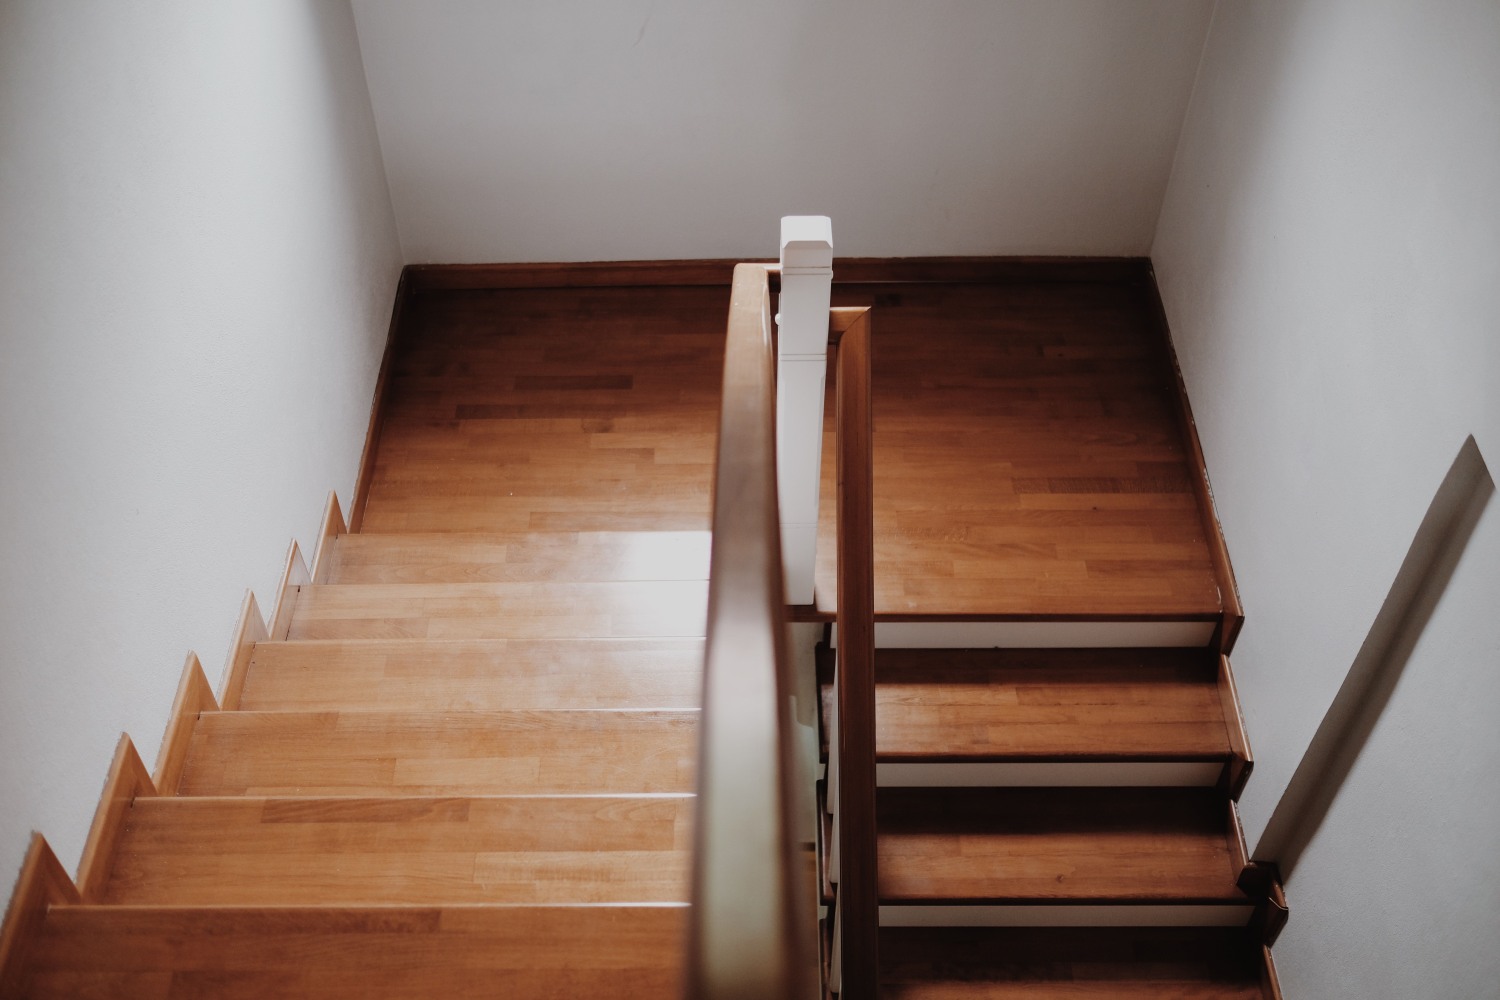
A stair is one of the areas where small inconsistencies can have a significant effect on usability. They should be designed with consistent risers and goings throughout the flight. Changes in dimensions can disrupt the user’s rhythm and make the stair harder to use safely. Finished floor levels must be coordinated with the stair design, especially in refurbishment projects where floor build-ups may vary.
Handrails should provide continuous, easy-to-grip support along the stair. They should remain usable around landings and should not terminate where a user’s hand is likely to lose contact before reaching the next safe level.
The edge of each step needs to remain visually legible. Contrasting nosings can help identify tread edges but the profile and finish should not create trip hazards or strong reflections. Floor and stair finishes should also provide suitable slip resistance for their environment.
Landings should remain clear of furniture and storage in order to provide users with space to pause and orient themselves. Where a stair forms part of an accessible route or future adaptation strategy, coordinate the landing with the potential installation of a stairlift. In Part M, for M4(2), the stair from the entrance storey is required to have sufficient clear width to allow for future stairlift installation. Protected stairways and means of escape should also be considered during loft conversions and refurbishments.
Flooring Materials

Floor finishes influence how easily people move through a home and how clearly they can read different spaces and level changes.
Slip resistance should be designed based on the use of the space. Bathrooms, entrances and external routes may become wet, while living rooms and bedrooms are usually dry. Always check the manufacturer’s technical information when specifying slip resistant materials.
The Pendulum Test is the UK’s standard method for assessing slip resistance and is expressed as a Pendulum Test Value (PTV). While historically governed by BS 7976, this method is now officially designated under BS EN 16165 (Annex C). A PTV of 36 or above, tested wet, is the UK Slip Resistance Group‘s benchmark for low slip potential. This is the critical figure to ask for on any wet-area flooring specification.
Floor transitions should be considered early because different floor finishes can produce unexpected changes in level. For example, where a timber floor meets a tiled floor, check the build-up of both before choosing the transition profile, since a tile adhesive bed, underlay, insulation layer or acoustic build-up can all alter the final level. Specify adjoining materials and resolve transition details together to avoid raised trims or trip hazards.
Carpet and entrance matting also need to be considered as part of the floor build-up. Thick underlay can create a noticeable step at a doorway, while recessed matting can provide a more stable transition than a loose mat. The recess should be coordinated with the floor construction before the screed or final floor finish is installed.
Flooring should be firm and stable for wheelchair users and people using mobility aids. Deep-pile carpet can make movement more difficult. Maintenance is also important, as surfaces should remain safe and effective after cleaning and normal wear.
Acoustics

Acoustic accessibility is often overlooked because it is less visible than a door width or threshold. A room can be physically accessible but still difficult to use if background noise makes speech difficult to understand.
Large areas of hard flooring and other hard surfaces can create reverberation, for instance in open-plan kitchens and living spaces. Soft furnishings, curtains, rugs and acoustic finishes can help absorb sound. Acoustic underlays or insulation may also be used to mitigate sound.
Noisy equipment, like washing machines, extract fans, heat pumps and pumps, should be positioned away from bedrooms and quiet spaces where possible. Where equipment needs to be close to living accommodation, consider vibration transmission as well as airborne sound.
Open-plan layouts can be useful for flexibility but can also allow noise to travel much further through the home. A kitchen extractor, dishwasher or television can become background noise across the entire living area. Where an open-plan layout is proposed, consider whether there is still a quieter space available for activities requiring concentration or rest.
Doors can also contribute to acoustic separation. A door with poor seals may allow significant sound transmission between rooms. However, acoustic performance should not compromise usability. Heavy or high resistance doors may create accessibility issues if they require excessive force to operate.
Wayfinding
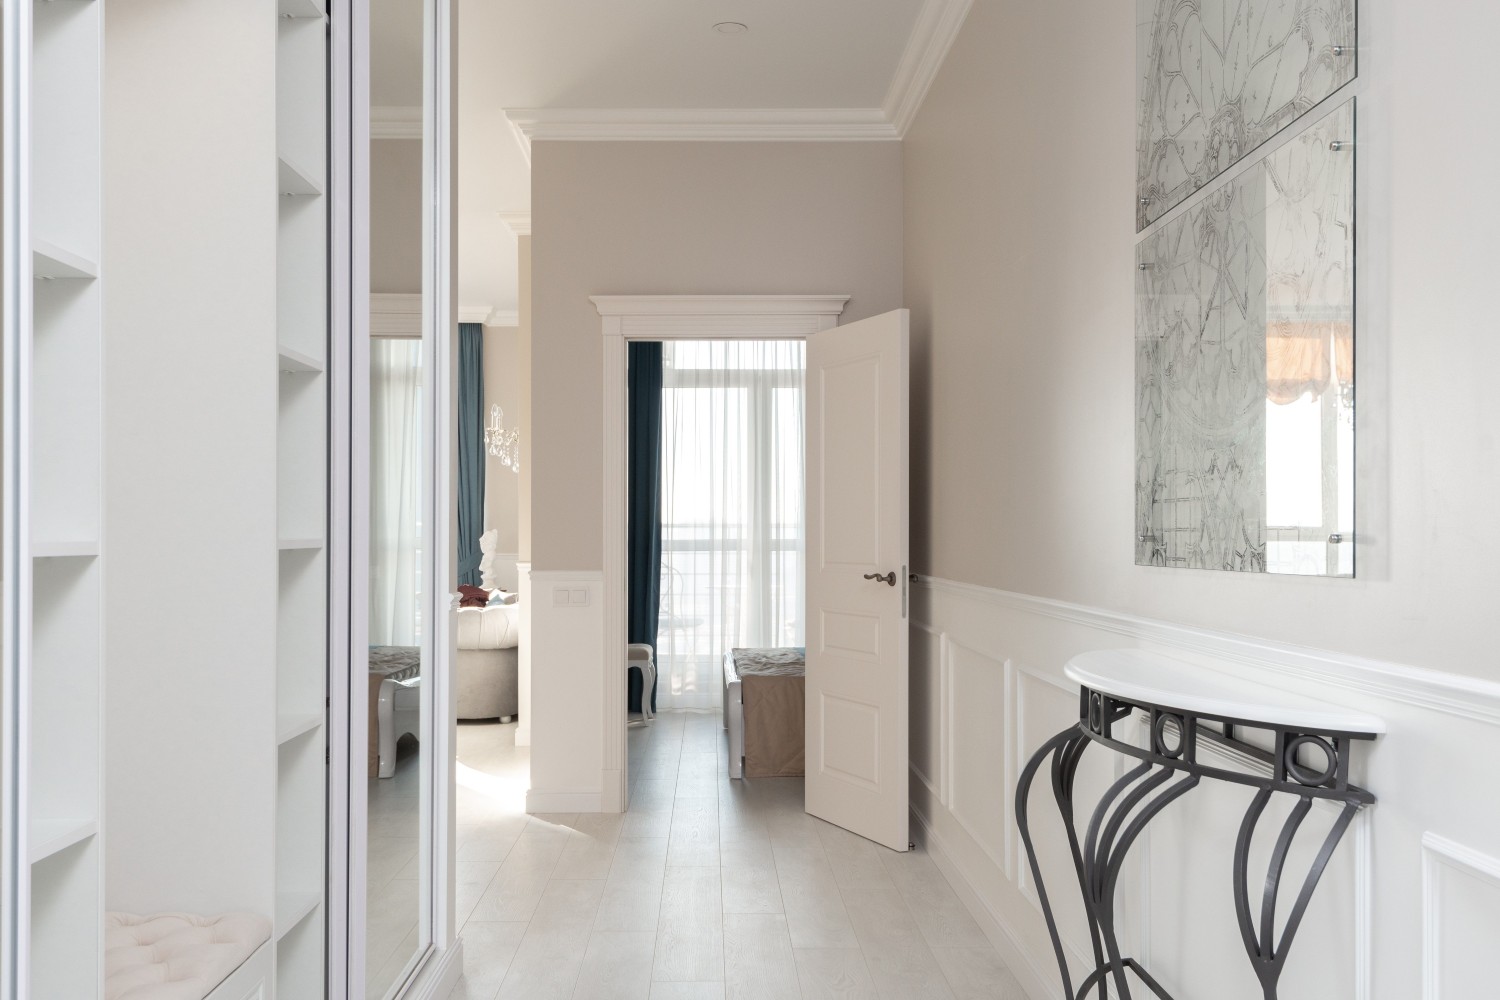
Good residential wayfinding starts with making the building understandable. The main route through the home should be clear and easy to identify. Avoid layouts where several routes look alike or where main spaces are hard to locate and use views towards key rooms or destinations to help people navigate.
Consistency can support orientation by making features predictable. This could involve positioning switches beside doors or having familiar door types. Architectural landmarks such as windows, distinctive wall finishes or visible staircases can also help occupants recognise where they are within the home.
Homes do not usually need extensive signage. Where signs are needed, they should be clear and legible. For residents with cognitive impairments, the most appropriate approach will depend on the individual and may include visual, tactile or other forms of information. Tailor the design to your user’s needs.
PAS 6463:2022, BSI’s guidance on neurodiversity and the built environment, further sets out this kind of legibility and sensory consideration.
Outdoor Spaces

Accessibility should continue beyond the external door, with gardens and terraces providing clear, usable routes. The routes should have suitable gradients, stable paving, good drainage and enough clear width. Avoid using loose gravel, stepping stones, uneven surfaces and narrow gaps that can make movement difficult for wheelchair users or people using walking aids.
Gates should be treated like doors with appropriate clear openings, approach space, handles and thresholds. They should not open across an accessible route.
Planting should be planned around its mature size so that routes remain clear as the landscape develops. It can also help define pathways and mark key destinations.
Where a garden is intended to be used regularly, provide places where people can stop without blocking the route. A bench positioned beside rather than across the circulation route can provide a useful rest point without reducing clear movement space. Raised beds may also be appropriate where gardening is intended to be accessible, allowing planting and maintenance from a comfortable height and position.
BS 8300-1:2018 sets out more detailed recommendations for external environments, including paths, gradients and seating, for anyone working on larger or shared outdoor schemes.
Accessible Technical Design Checklist

Use this checklist when dimensions, components, materials, services and construction details are being finalised.
Dimensions and Clearances
- Have the required widths, turning spaces and activity zones been confirmed for the applicable M4 category?
- Are clearances measured from finished surfaces and installed fittings, not nominal dimensions?
- Will door swings, ironmongery, radiators or furniture obstruct usable space once installed?
- Have critical dimensions been coordinated across plans, sections and enlarged details?
Doors and Thresholds
- Is the actual clear opening shown, accounting for frame, stops and seals?
- Is the threshold detail drawn in section, coordinated with drainage, falls and weatherproofing?
- Has the final floor build-up been checked on both sides of the door?
- Has the operation of closers, seals and other hardware been checked against accessibility and fire requirements together?
Controls, Fixtures and Sanitaryware
- Are switches, sockets and controls within the applicable height range, positioned clear of corners and obstructions?
- Can they still be reached once furniture and fittings are installed?
- If smart controls are used, is there an appropriate alternative method of operation?
- Has wall reinforcement for grab rails been recorded on the drawings, with its position and load capacity?
- Are taps, WC height and sanitaryware operable without a tight grip or twisting motion?
Lighting
- Is the route including entrances, stairs and changes in level adequately illuminated without glare or strong shadows?
- Are switches positioned so occupants do not have to cross an unlit room?
- Has the lighting layout been coordinated with furniture and fitted elements?
- Does external lighting illuminate the entrance controls and approach without glare?
Materials, Finishes and Acoustics
- Are floor finishes suitable for their environment and are changes between finishes resolved without unnecessary lips?
- Are ironmongery, handrails and stair nosings visually identifiable against their background?
- Have highly reflective or confusingly patterned finishes been avoided where they could affect visual perception?
- Could hard finishes create excessive reverberation and have noisy services been positioned away from quiet rooms?
- Has acoustic performance been considered alongside accessibility?
External Areas
- Is there a continuous, accessible route from the entrance to the outdoor space, with stable, well-drained surfaces?
- Has planting been designed around its mature size so it will not narrow routes over time?
- Can gates be operated without obstructing the route and is external lighting glare-free?
- Are seating and rest points positioned without reducing circulation space?
Coordination and Verification
- Are accessibility requirements included in the specifications and schedules, not just general notes?
- Are architectural, structural, landscape and building-services drawings coordinated, including finished floor levels?
- Can important components be inspected or demonstrated before completion?
- Has the completed installation been checked against the design, rather than relying only on the drawings?
Helpful Links
Designing for Part M: A Practical Guide and CAD Block Library
Building for Everyone Complete Series – Centre for Excellence in Universal Design
Lifetime Homes – Habinteg/CAE
Occupational Therapists input on the design of housing – Housing LIN
Access to and use of buildings: Approved Document M – GOV.UK
Protection from falling, collision and impact: Approved Document K – GOV.UK
Books
Here is some accessibility related further reading:

You might also be interested in
We have loads of other accessibility content. Be sure to check it out.




Conclusion
Accessible design is often discussed in terms of large planning decisions but many of the most significant failures happen in much smaller details. A threshold that is technically level but poorly drained, a door with the right clear opening but the wrong closer, a switch within the correct height range but hidden behind a radiator, can all undo the intentions of an otherwise well-planned home.
Meeting a dimension is not the same as achieving usability. The finished, installed detail is what a resident lives with, not the specification sheet.
Visibility and legibility matter just as much as measurement. Lighting, colour, contrast and consistent detailing all help our users understand a space and move through it with confidence.
These details also rarely work alone. A threshold depends on its drainage, a door depends on its frame and hardware, a lighting layout depends on the furniture beneath it. Therefore, getting the details right is as much about coordination as specification.
The role of the architect is not simply to identify accessibility requirements. It is to ensure they are carried out through to realisation.

Author
Written by Valanne Fernandes, BA(Hons) MArch, a Part 2 Architecture graduate. Valanne is a content creator with First In Architecture, spending her time researching, writing and designing inspiring new content for the website.

0 Comments